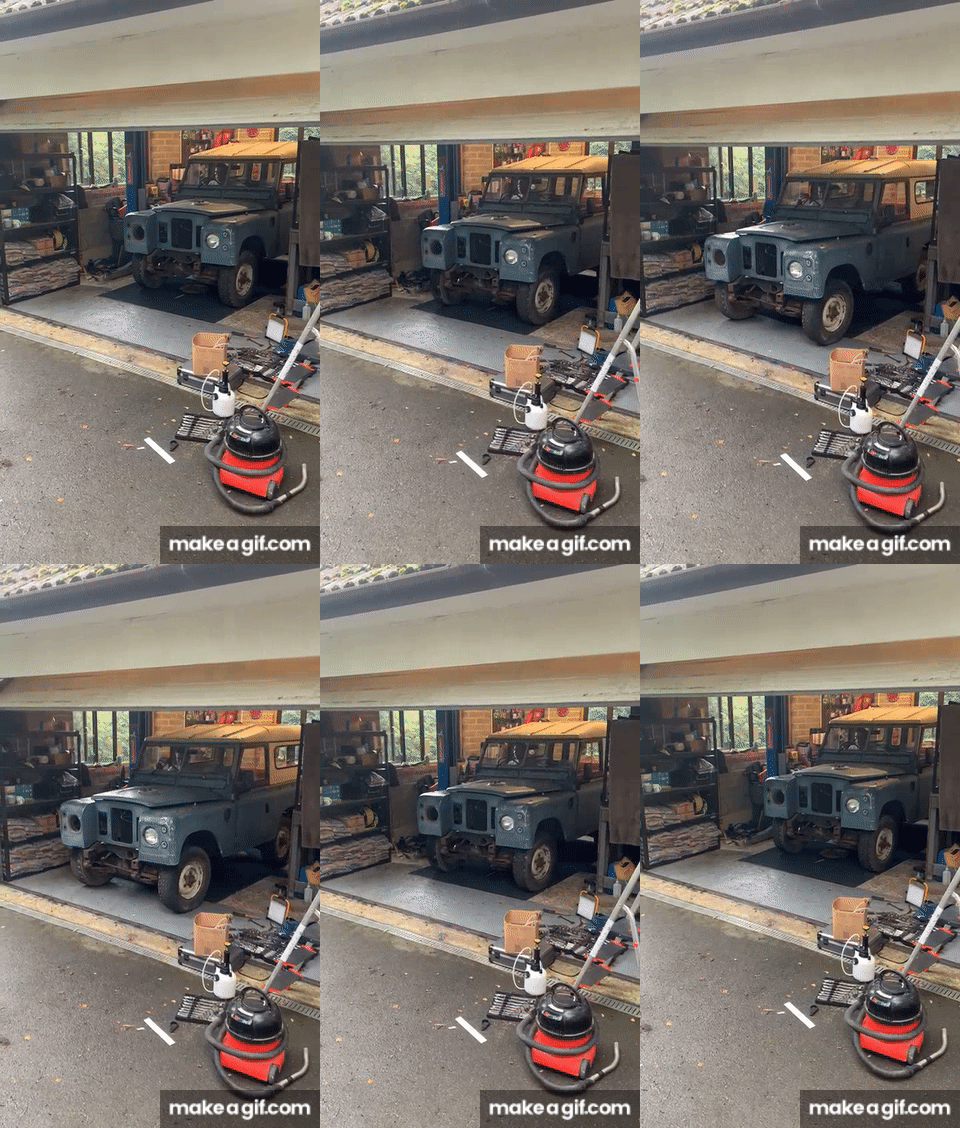
Spoiler alert. The clutch is working. Let’s rewind a bit…
The new clutch hydraulic parts had arrived (Britpart – this may come back to bite me later) and my dad needed the car out of his garage for a bit, so I wanted to sort the clutch ASAP. I’d already removed the slave (see previous post), which would be liberated from the car along with the slave to flexi pipe when I removed the old flexi hose. This proved to be a stubborn bugger, not helped by 3 things:
- The union probably hasn’t been undone in 20 years.
- Access was a bit of a pig.
- Naive moment #3 – I was trying to use metric tools on imperial fasteners.
The latter point was something I hadn’t considered. But of course ,the car is 52 years old and Land Rover were still working in freedom units in the early seventies. A/F spanner and socket set ordered. Still, I struggle on for now with a pair of vice grips proving the MVP of the day.
I elected to remove the whole clutch pedal box for better access to the fixings holding the master in, due to the fact they resembled a circle more than a hexagon and I had a preconceived notion of needing to take a powerfile to them. My dad joined the struggle around about now as well and gave me a hand relieving the car of it’s master cylinder and clutch pedal. Powerfiling done, the master was free with little struggle.
Installing the new clutch hydraulics was pretty straightforward with the exception of trying to get the unions lined up totally square. These were a pain in the arse, but that’s par for course with brake (clutch) hydraulic fittings. Time to bleed – I had brought my pressure bleeder from home today which simplified this process considerably. We were thwarted quite quickly by a leak from the master cylinder union which was tricky to tighten down due to half rounding the nut with our poorly-fitting metric tools, but we did manage to reduce the leak to a slight weep which I can live with for the time being. I’m not particularly impressed with the route/composition of the clutch hydraulic line and will likely make up my own out of copper brake line at some point using a single pipe rather than 2 pipes and a rubber flexi hose.
With a firm pedal, we lowered the car and started it up (with a screwdriver to the starter motor contacts, as the ignition barrel had decided to take the day off apparently). Clutch down… into gear? Nope. That sound that haunts the dreams of driving instructors around the world rang through the garage as if to announce our failure. I was pretty sure the hydraulics were fine, so we figured we needed a bit more throw at the slave by adjusting the pushrod on the master. Of course, because I had the wisdom to buy Britpart parts, the master pushrod was half the size of the old one and therefore had very little adjustment available. We took the locknut off the end and wound it forward as much as possible, with the pushrod just barely meeting the pedal.
Attempt 2: Clutch down… into gear? Not quite. The graunching is way less intense though as if the clutch plate was only just grazing the flywheel. We had the tiniest bit more we could give the master pushrod so did so and… success! I could dip the clutch and move between gears with the engine running! I’m getting excited now.

With the lift arms safely stowed out of the way, I engaged low range second gear (high range seems a bit iffy and doesn’t seem to want to engage) and drove out of the garage, did a little lap of the garden and parked up. The car stopped safely with the handbrake and I exchanged a grin with my father. The pushrod situation isn’t ideal but some wisdom from the good folks in the LR Series Facebook group suggested transferring the pushrod from the old master onto the new one, the obvious solution in hindsight… one for the list.
That’s the clutch sorted, brakes next!